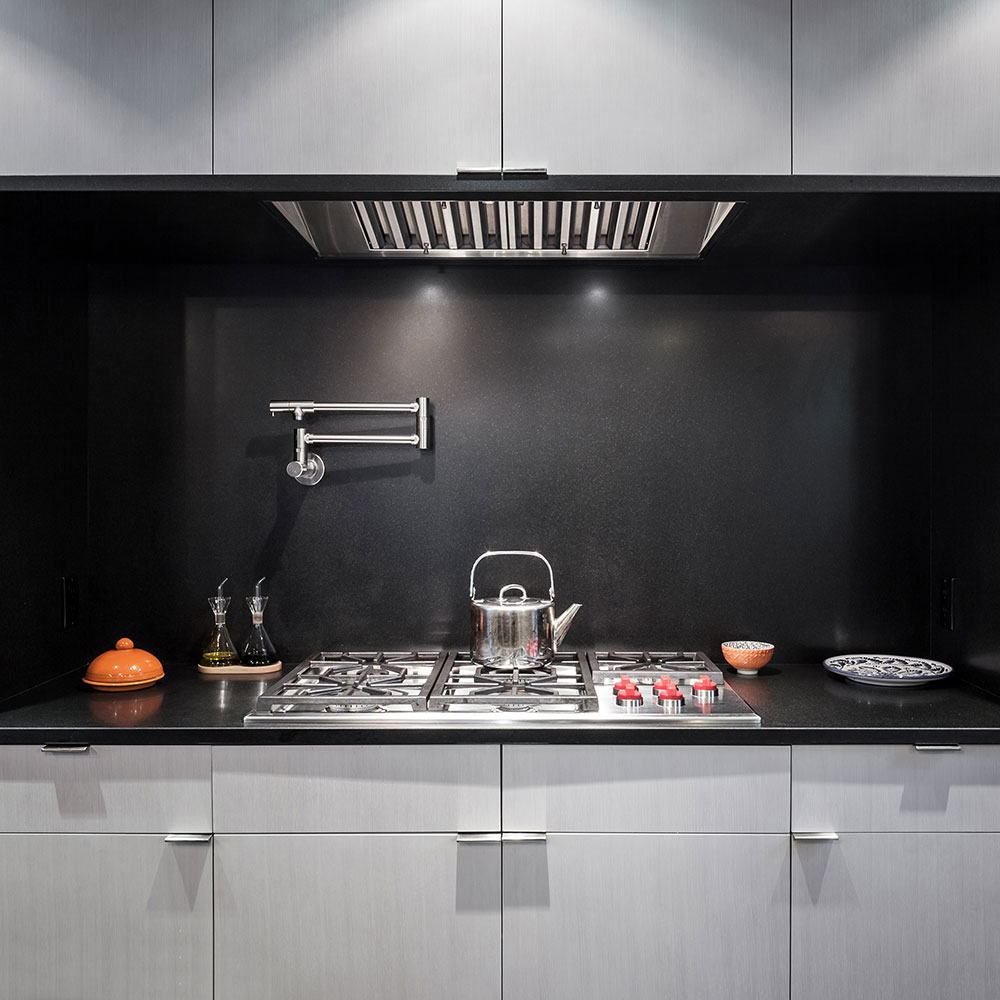
A kitchen remodel, or new build, is an exciting project that may involve knocking down walls, adding an island, and selecting appliances. It is a complex process with many moving parts. But without proper planning, you can easily overlook details that may result in disappointment down the line. One of those critical details involves kitchen ventilation—the means by which smoke, grease and odors are removed from the kitchen. Without proper ventilation, cooking in your new kitchen may be the last thing you want to do.
Why do I need kitchen ventilation?
For starters, Oregon requires exhaust equipment for all domestic cooking appliances. That means there must be some sort of exhaust system located above or adjacent to your range or cooktop. (Wall ovens and microwaves typically do not require ventilation.)
But even more important than just complying with the code, you need kitchen ventilation so your kitchen (and house!) doesn’t smell like bacon long after you make breakfast. You need it so your counters, backsplash and other surfaces stay clean and grease-free. And you need it to remove smoke and steam so that you don’t set off your smoke detectors every time you burn the pancakes.
How do kitchen ventilation appliances work?
Kitchen ventilation usually takes the form of a ‘hood’ mounted over the range. The hood is either ‘recirculating’ or ‘ducted.’ Recirculating means that any fumes pulled into the hood circulate inside the appliance, while ducted means fumes travel through a duct that vents to the exterior of your house. Ducted is ALWAYS better. Why blow kitchen smoke and smells back into your space if you can remove them?
How powerful should kitchen ventilation be?
The sizing of kitchen ventilation is measured in CFM (cubic feet per minute). CFM measures the volume of air moved each minute. For example, a hood rated for 600 CFM means 600 cubic feet of air flows through the appliance per minute.
Many appliance manufacturers and designers focus on maximizing CFM. However, Derek Berg at Eastbank Appliances in Portland, Oregon says the size of the hood shell is more important than just a large CFM. “The hood should be oversized compared to the size of the range below. For example, if you have a 30” wide range, the hood above should be a minimum of 36” wide for best performance. The same is true for the height and depth of the hood—bigger is better.”
Further, it is essential that the size of the hood is specified according to the requirements of the range below. This is particularly important with high end, chef-quality ranges. An under-sized hood will not work over a high-performance range. Additionally, the mounting height of the hood above the range should be dictated by the requirements of the range manufacturer, not the hood manufacturer. In short, follow all specifications and dimensions for the range in order to specify and install the hood.
Kitchen ventilation is noisy. Do I have any options for controlling the noise?
Kitchen ventilation appliances are noisy because the blower is typically located in the unit, which is usually mounted right above your head. The proximity of the fan to your ears is unavoidable.
Some manufacturers make a quiet blower, which is an ideal choice, since one unit solves the entire problem. Other manufacturers offer the ability to locate the blower remotely, either in the attic (called in-line) or on the exterior of the building (wall or roof).
What is this make-up air thing I hear about?
Kitchen ventilation appliances remove air from your home. If you remove all the air from your home, you couldn’t breathe! Since most houses (especially older ones) are a bit drafty, that is unlikely to happen. However, newer building science dictates that our house enclosures should be tighter. With tighter houses, we need to provide fresh air to balance the air removed when the kitchen ventilation appliance is on. This allows your hood to clear the fumes easily and not fight the interior building pressure. Further this allows your appliance to last longer since it isn’t struggling when it runs. The building code requires make-up air for all kitchen ventilation appliances rated 400 CFM or greater, whether you have a drafty old house or a new, properly sealed house.
Make-up air works by connecting the ventilation appliance to a duct that brings in fresh air every time the appliance turns on. The make-up air register needs to be located ‘near’ the appliance, but the code is vague about a specific proximity, which gives us some freedom as to where it’s located. In our kitchen remodels, we often locate the register in the toe kick of the cabinetry so that it is effective, but not noticeable.
What about maintenance for my kitchen ventilation?
Cooking fires are the number one cause of house fires in the US. Properly installed and working ventilation can help prevent cooking fires caused by grease by moving hot air and grease particles outside your home. To keep your ventilation in tip top shape, Berg advises, “If your hood has a filter, clean it regularly. If you can access beyond the motor and into the ductwork, clean that as well. Built-up grease in the appliance motor and ductwork is a fire waiting to happen.” Beyond cleaning, high-quality kitchen ventilation appliances require little to no maintenance.
OK, I need kitchen ventilation. What should I consider?
When choosing a ventilation appliance for your kitchen, consider the following:
- What kind of cooking do you do? Do you like to use high heat? Do you sear your food? Do you use a wok? High heat cooking requires special considerations for ventilation.
- What types of food do you cook? Do you cook fish, bacon or other foods that emit strong odors? Do you cook spicy foods? Removing cooking smells is an important part of kitchen ventilation.
- Do you want to make your kitchen ventilation hood a focal point? Or do you want it to disappear?
- What is the style of your kitchen? Modern? Traditional? Somewhere in between? Properly designed, the ventilation system can compliment the aesthetic of your kitchen.
- What is your budget? Kitchen ventilation costs range from $150 for an inexpensive unit (which won’t work) to more than $2,500 for a high-end, built-in model. What are your priorities?
This all makes sense! What are my options?
Microwave-hood combo
Mounted above a cooktop or range, a microwave-hood combo is exactly that—a microwave and a ventilation fan all rolled into one appliance. Sounds like a great space saver, huh? Well, that’s about the only benefit. As discussed in our post on microwaves, microwave-hood combos make neither good microwaves nor good ventilation hoods. They are underpowered and ineffective.
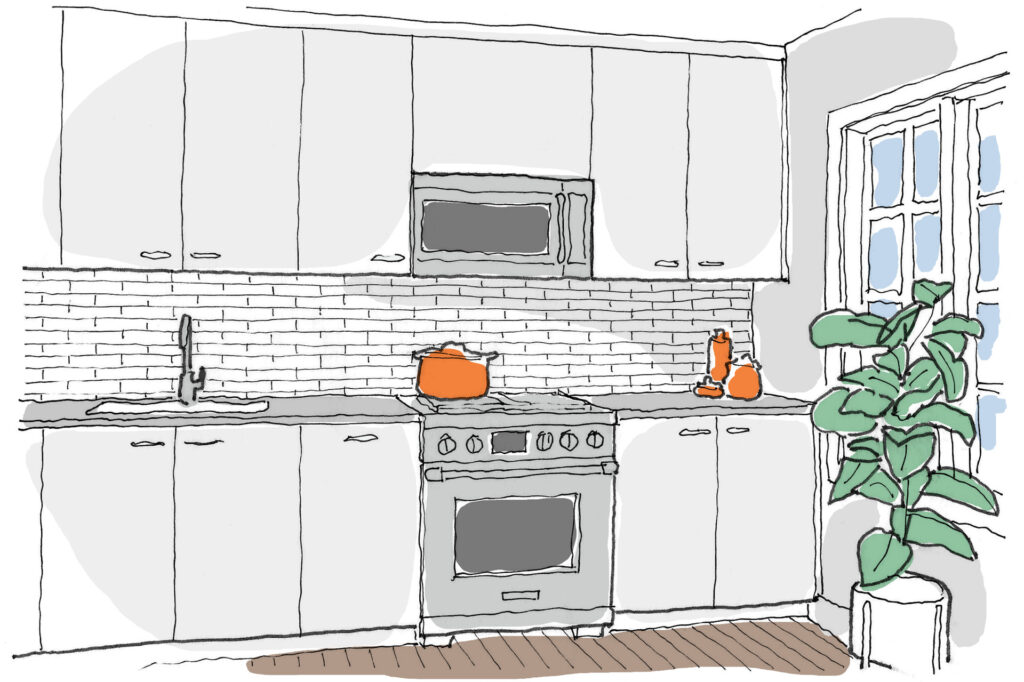
Berg tells us, “Microwave-hood combos are fine for rentals or ADU’s, where you anticipate low use. But otherwise, avoid them at all costs.”
Under-cabinet hood
Made from stainless steel, under-cabinet hoods mount below the cabinetry above a range or cooktop. They are one of the most poplar types of hood since you can purchase a good model for a reasonable price. Further, they are a good choice when you don’t want to make a design statement with your hood.
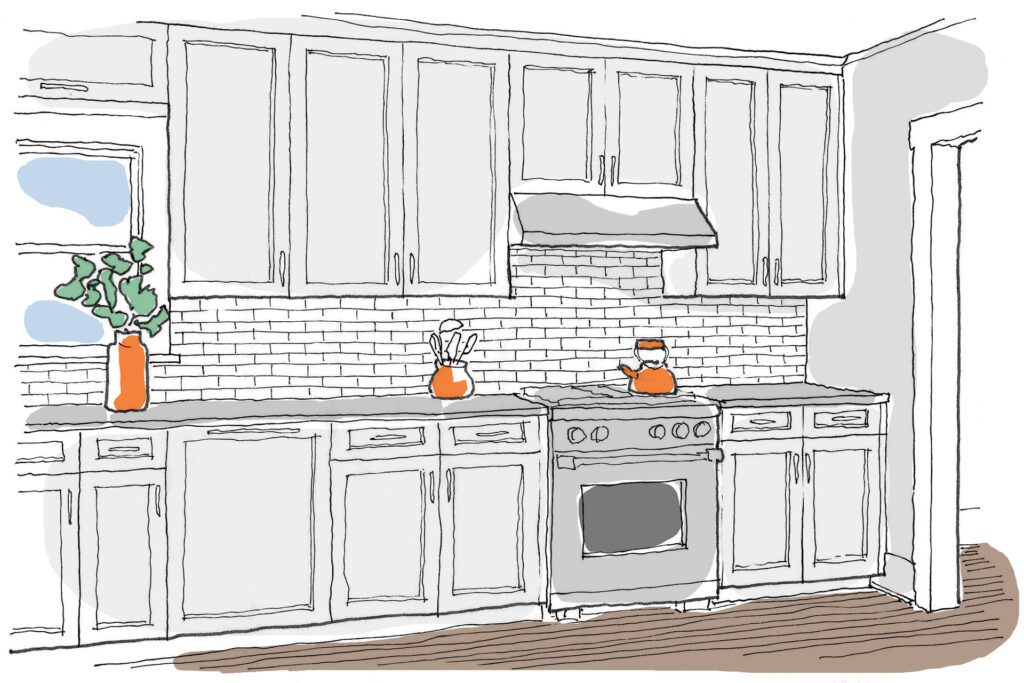
Under-cab hood heights vary from as slim as 4” to upwards of 12”. But while a 4” model may look great, it won’t be nearly as effective as a deeper appliance. And the same is true for the depth (the dimension from the front to the back of the hood). A deeper appliance will always work better. Finally, under-cab hoods should be 6″ wider (3″ on each side) than the range below.
Wall-mounted hood
For kitchens that don’t have cabinetry above the range, a wall-mounted hood is often a good choice. Unlike under-cab hoods, wall-mounted hoods make a design statement above your range. And the intensity of that statement is only limited by the model you choose. The most common finish is stainless steel, but some manufacturers offer them in other metallic finishes as well. Additionally, some manufacturers offer custom paint options, so your hood could be any color you’d like and could even match your range below.
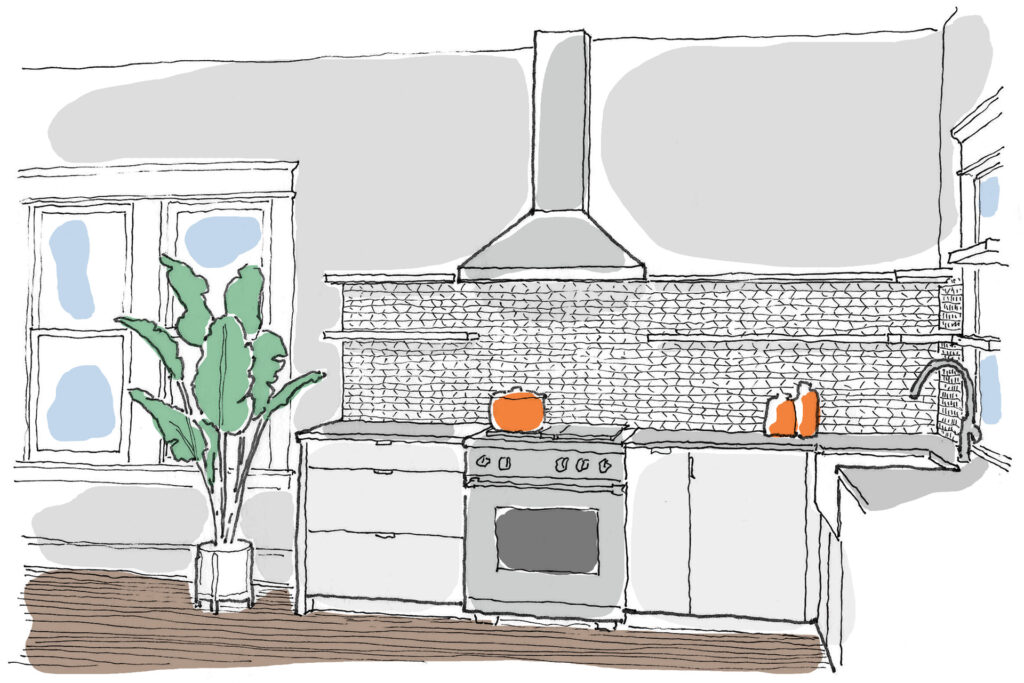
Like under-cab hoods, wall-mounted hoods should be as tall as possible and 6” wider (3” on each side) than the range below.
Island hood
Berg states, “If it’s possible, don’t put your cooktop in an island to start with. It is VERY difficult and expensive to properly vent. Having a wall behind the range helps guide smoke to the hood, giving you an advantage from the beginning.”
However, some clients prefer the cooktop in the island. If that’s you, an island hood is likely your best choice. These hoods mount on the ceiling and hang above the cooktop at a specified height. Berg recommends sizing island hoods 12” wider (6” on each side) than the cooktop below. And of course, the height and depth should also be as large as practical.
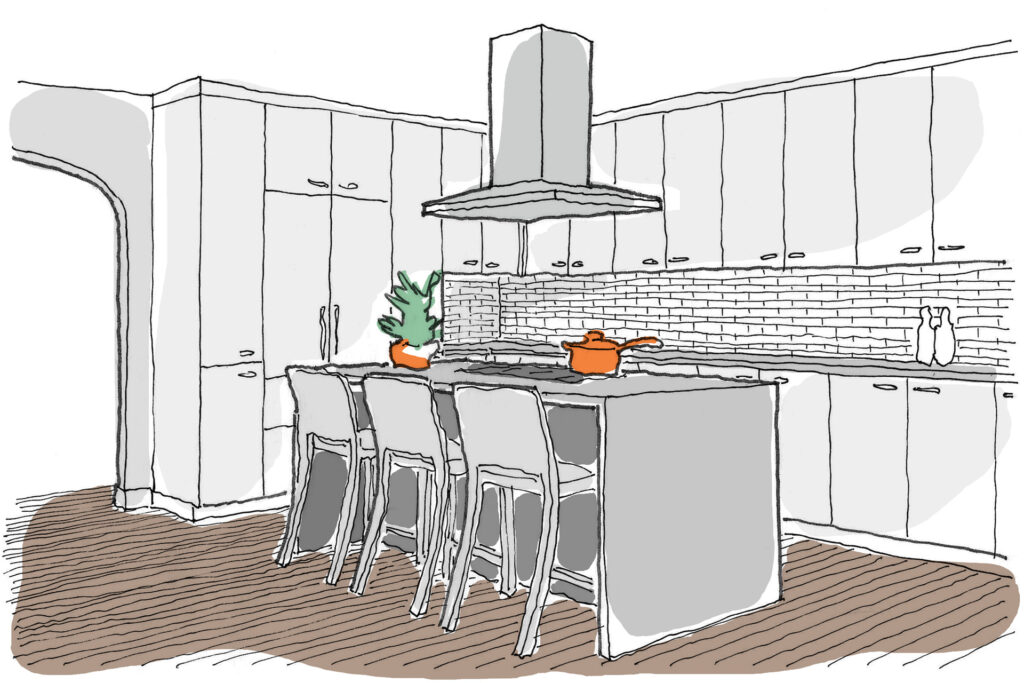
Like wall hoods, island hoods are usually made from stainless steel, although some manufacturers offer them in other finishes, including custom colors. Shapes vary from contemporary to traditional to ornate, allowing you to choose one that suits the aesthetic of your kitchen.
In-ceiling hood
Another option for ventilation above islands is an in-ceiling hood. With this design, the ventilation fan is recessed into the ceiling above, with nothing hanging below. The only visible component is the grill, which varies between manufacturers. This flush-mount look is sleek and great for modern spaces. However, like island hoods, the unit should be oversized and overpowered as much as possible for effective operation.
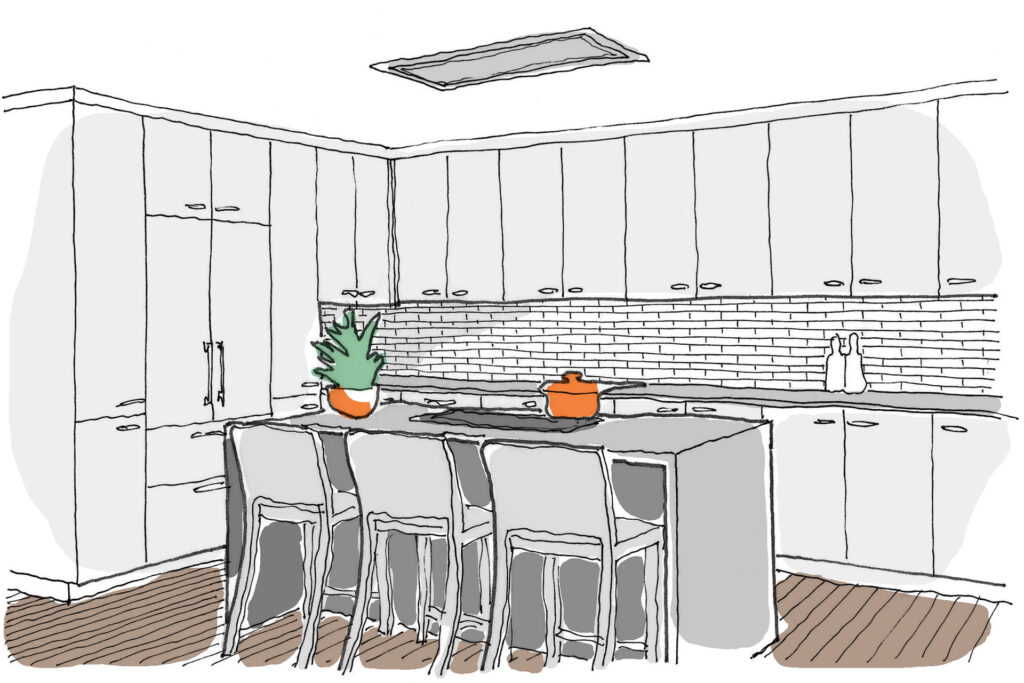
Kitchen ventilation hoods typically come with integral lighting. However, lighting in in-ceiling hoods varies between manufacturers. If your chosen in-ceiling hood does not come with lights, you’ll need a supplemental lighting plan.
An in-ceiling hood will likely fit in an attic, but is unlikely to fit in a ceiling with a second floor above. Thorough design and planning is critical for a successful installation.
Custom hood
At Christie Architecture, our favorite hood is a custom hood! As implied, a custom hood allows us to create a design that suits the style of each individual project. Traditional? Modern? Somewhere in between? Anything is possible with a custom hood.
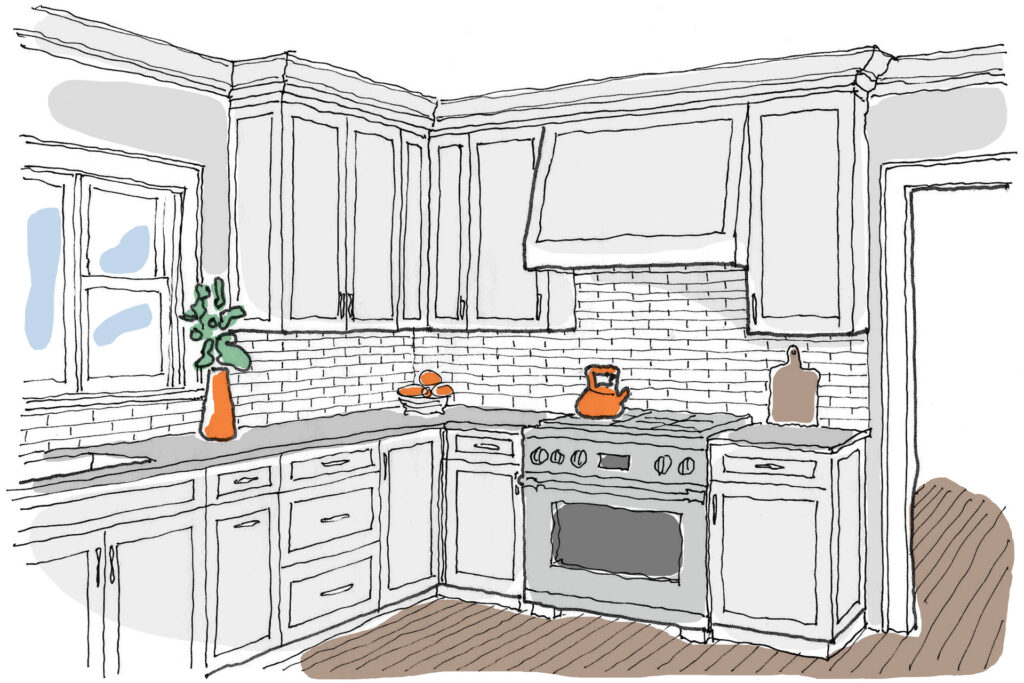
With a custom hood, we first specify a hood liner sized for your range or cooktop. (The liner is the ‘guts’ of the hood – the mechanics, lighting and filters.) Then, we design the hood shell—the exterior part that you see. Often, the shell matches the adjacent cabinetry, allowing the hood to blend seamlessly with the aesthetic of your kitchen. However, the shell could be crafted from almost any material, allowing us to make it the focal point of the kitchen.
Custom hoods can be designed for under-cabinet, wall-mounted, or even island applications.
Downdraft appliance
Instead of venting above the cooking appliance, a downdraft appliance vents below the counter and floor. Usually only used in island or peninsula applications, downdrafts appliances suit clients who want to maintain an open view above the cooking surface. However, according to Berg, “Most don’t work well. So you should be careful about pursuing this option.”
There are several types of downdraft appliances. The first is integral with the cooktop—an all-in-one appliance. A vent, located between the burners, pulls air down into the fan unit below. It may sound like a great idea, but Berg does not recommend these, ever.
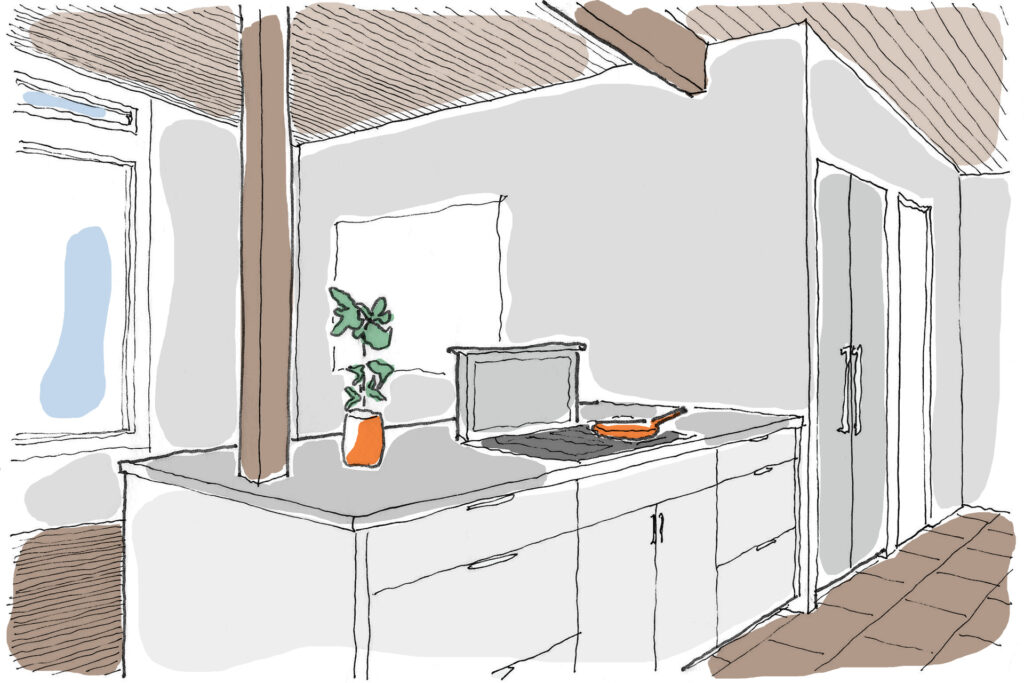
If you must use one, Berg recommends a ‘pop-up’ style. In this case, a separate ventilation appliance is mounted directly behind your cooktop. It may even be from a different manufacturer. When not in use, the appliance sits flush with the countertop. When turned on, it rises out of the counter to pull air back and down. For best performance, Berg recommends that the unit ‘pops up’ a minimum of 15” above the range.
Let’s talk kitchen ventilation.
Have you been thinking about your dream kitchen? Whether you are remodeling an existing space or planning a new home, kitchen ventilation is an important consideration. Let us help you integrate the right ventilation into your new kitchen so it looks great–and smells great too.
